Step-by-Step Guide to Successful Star Jasmine Propagation! takes center stage, beckoning readers into a world crafted with good knowledge, ensuring a reading experience that is both absorbing and distinctly original. Star jasmine, with its fragrant white blossoms and cascading vines, is a beloved plant for its beauty and alluring scent.
Its propagation, however, can seem daunting to the novice gardener. This comprehensive guide breaks down the process into easily digestible steps, empowering you to successfully grow your own star jasmine from cuttings, layers, or seeds.
From preparing cuttings to nurturing rooted plants, we explore the various methods of propagation, offering practical tips and insightful advice. Whether you’re a seasoned gardener or a curious beginner, this guide will equip you with the knowledge and confidence to cultivate your own star jasmine haven.
Introduction to Star Jasmine Propagation
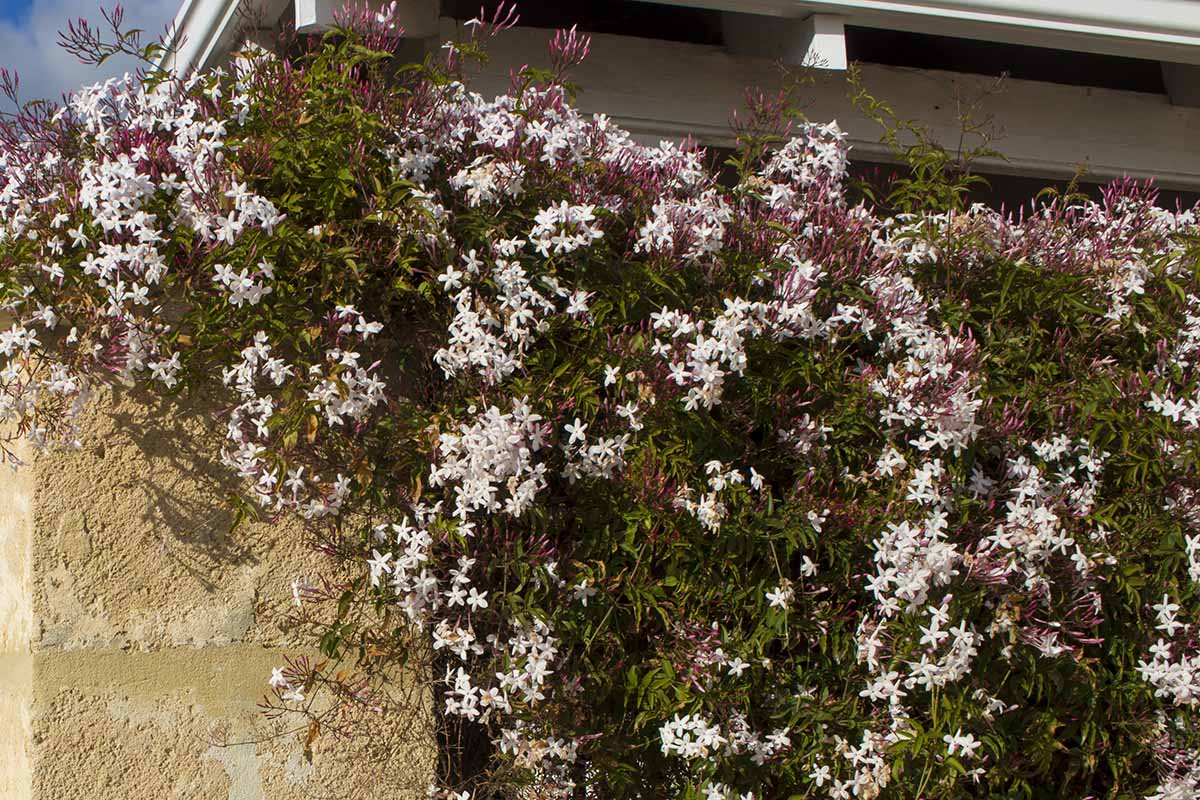
Star jasmine, scientifically known asTrachelospermum jasminoides*, is a beautiful, fragrant vine that adds a touch of elegance and charm to any garden. Its glossy, dark green leaves and delicate, star-shaped white flowers create a stunning visual appeal, while its sweet, heady fragrance fills the air, making it a popular choice for landscaping and home gardens.Propagating star jasmine offers numerous benefits.
It allows gardeners to create new plants for free, expand their existing gardens, and share this beautiful vine with friends and family. Moreover, propagation ensures the preservation of desirable traits, such as fragrance, flower color, and growth habit, in future generations of plants.Several methods can be employed to propagate star jasmine.
The most common techniques include:
Methods of Propagation
- Cuttings: This method involves taking stem cuttings from a healthy, mature plant and encouraging them to develop roots. It is a relatively simple and widely practiced technique.
- Layering: This method involves bending a stem of the parent plant and burying a portion of it in the soil. Roots will develop from the buried section, creating a new plant that can be separated from the parent.
- Air Layering: This method involves wrapping a portion of a stem with damp sphagnum moss, which promotes root development. Once roots form, the section is cut from the parent plant and potted.
- Seeds: While less common, star jasmine can also be propagated from seeds. This method is typically used for breeding new varieties, as it can introduce genetic diversity.
Propagation by Cuttings
Taking cuttings is a common and effective method for propagating star jasmine. This technique involves taking portions of the plant’s stems and encouraging them to develop roots, resulting in new, independent plants.
Preparing Cuttings
Cuttings should be taken from healthy, mature star jasmine plants. The ideal time for taking cuttings is during the spring or summer when the plant is actively growing. The cuttings should be taken from non-flowering stems.
- Select a healthy stem: Choose a stem that is free of disease, pests, and damage. The stem should be firm and have a vibrant green color.
- Cuttings length and thickness: Cuttings should be about 4-6 inches long and have a diameter of about 1/4 inch.
- Remove leaves: Remove the leaves from the bottom 2 inches of the cutting. This will help to prevent the leaves from rotting and will allow the cutting to focus its energy on root development.
- Make angled cuts: Make a clean, angled cut at the bottom of the cutting. This will help to increase the surface area for root development.
Rooting the Cuttings: Step-by-Step Guide To Successful Star Jasmine Propagation!

Once you have prepared your star jasmine cuttings, the next step is to encourage root development. This is where rooting hormone comes into play, and the right rooting medium is crucial for successful propagation.
Using Rooting Hormone
Rooting hormone is a synthetic or natural substance that stimulates root growth in plant cuttings. It helps overcome the natural resistance of the cutting to forming roots. There are two main types of rooting hormone:
Powdered Rooting Hormone
This is typically applied by dipping the cut end of the cutting in the powder.
Liquid Rooting Hormone
This is applied by soaking the cutting in the solution for a specific duration.Applying rooting hormone is simple:
1. Prepare the Cuttings
Ensure the cut end of the cutting is fresh and free of debris.
2. Apply Rooting Hormone
Dip the cut end of the cutting in the powdered hormone or soak it in the liquid solution for the recommended time.
3. Remove Excess Hormone
Gently tap the cutting to remove any excess hormone.
Note:Always follow the instructions provided by the manufacturer of the rooting hormone.
Preparing the Rooting Medium
The rooting medium is the material in which the cutting will be placed to encourage root development. It should be:
Well-Drained
To prevent waterlogging and root rot.
Moist
To provide adequate moisture for root growth.
Sterile
To reduce the risk of fungal infections.Here are some popular rooting medium options:
Potting Mix
A mixture of peat moss, vermiculite, and perlite.
Vermiculite
A lightweight, porous material that retains moisture well.
A Step-by-Step Guide to Successful Star Jasmine Propagation! is essential for anyone looking to grow this fragrant vine. For a comprehensive understanding of the various propagation methods, check out our guide on How to Propagate Star Jasmine: Proven Methods for Success!.
This guide covers everything from cuttings to layering, providing detailed instructions and tips for successful propagation. With this knowledge, you’ll be well on your way to enjoying the beauty and fragrance of star jasmine in your own garden.
Perlite
A lightweight, volcanic glass that provides aeration and drainage.
Comparing Rooting Methods
There are several methods for rooting star jasmine cuttings, each with its own advantages and disadvantages. Here is a comparison of the most common methods:
Method |
Advantages |
Disadvantages |
|---|---|---|
Water Propagation |
Simple and easy to monitor root development. |
Can lead to root rot if the water is not changed regularly. |
Soil Propagation |
Provides a more stable environment for root growth. |
Can be more difficult to monitor root development. |
Mist Propagation |
Provides a high humidity environment that promotes root growth. |
Requires specialized equipment and can be more expensive. |
Caring for Rooted Cuttings
Once your star jasmine cuttings have developed roots, it’s crucial to provide them with the right environment to thrive. This section will guide you through the essential steps to ensure your cuttings establish strong roots and develop into healthy plants.
Optimal Environment for Rooted Cuttings
Providing the right environment is essential for your rooted star jasmine cuttings. This includes maintaining ideal temperature, humidity, and light conditions.
- Temperature:Star jasmine thrives in warm temperatures, ideally between 65°F and 75°F (18°C and 24°C). During the rooting process, maintaining a consistent temperature within this range will encourage healthy root growth.
- Humidity:High humidity is beneficial for newly rooted cuttings, as it helps prevent them from drying out. You can increase humidity by placing the cuttings in a humid environment, such as a greenhouse or a propagation dome. Alternatively, misting the cuttings regularly with water can also help.
- Light:While star jasmine prefers bright, indirect light, newly rooted cuttings should be protected from direct sunlight, which can scorch their delicate leaves. Place them in a location with filtered sunlight or partial shade.
Watering and Maintaining Moisture Levels
Consistent moisture is vital for the survival and growth of your rooted star jasmine cuttings. Proper watering techniques and monitoring soil moisture levels are essential.
- Watering Frequency:Check the soil moisture regularly, and water when the top inch of soil feels dry. Avoid overwatering, which can lead to root rot.
- Watering Method:Water thoroughly, ensuring the entire root ball is moistened. You can use a watering can with a gentle rose or a spray bottle.
- Drainage:Use pots with drainage holes to prevent waterlogging, which can suffocate the roots. Ensure the pots are not sitting in water.
Signs of Successful Rooting and Transplanting
After a few weeks, your star jasmine cuttings will start to show signs of successful rooting. These include new growth, such as leaves or stems, and the cuttings becoming more stable in the soil.
- New Growth:The emergence of new leaves or stems is a clear indication that your cuttings have successfully rooted.
- Stability:When you gently tug on the cuttings, they should feel secure in the soil, indicating strong root development.
Once your cuttings exhibit these signs of successful rooting, you can transplant them into individual pots. This will provide them with more space to grow and develop into healthy plants. Choose pots that are slightly larger than the original propagation containers.
Fill the pots with a well-draining potting mix and gently transfer the cuttings. Water them thoroughly after transplanting.
Propagation by Layering
Layering is a propagation method that involves encouraging roots to develop on a stem while it is still attached to the parent plant. This technique is particularly effective for star jasmine, as it allows for the creation of new plants that are genetically identical to the parent.
There are two primary types of layering: air layering and ground layering.
Air Layering
Air layering involves creating a new plant by rooting a stem while it is still attached to the parent plant. This method is commonly used for plants that are difficult to root from cuttings, such as star jasmine.
- Select a stem: Choose a healthy, mature stem that is at least one year old. The stem should be flexible enough to bend without breaking.
- Make an incision: Use a sharp knife or pruning shears to make a 1-inch deep incision on the underside of the stem. This will encourage root growth.
- Apply rooting hormone: After making the incision, apply rooting hormone powder to the cut surface. This will further stimulate root development.
- Wrap the stem: Wrap the incised area of the stem with a damp sphagnum moss. This will help to keep the area moist and encourage root growth.
- Secure the moss: Secure the moss with plastic wrap or aluminum foil, making sure that the moss is kept moist.
- Wait for root development: Allow the stem to remain in place for several weeks, or until roots have developed.
- Sever the stem: Once roots have developed, carefully cut the stem below the rooting area.
- Pot the new plant: Plant the newly rooted stem in a pot with fresh potting mix.
Ground Layering
Ground layering involves bending a stem to the ground and burying it in the soil. This method is effective for plants that grow close to the ground.
- Select a stem: Choose a flexible, healthy stem that is growing near the ground.
- Make a small incision: Use a sharp knife to make a small incision on the underside of the stem. This will encourage root growth.
- Bend the stem: Gently bend the stem to the ground and secure it in place with a stake or rock.
- Cover the stem: Cover the stem with soil, leaving only the tip of the stem exposed.
- Water regularly: Keep the soil moist but not soggy.
- Wait for root development: Allow the stem to remain in place for several weeks, or until roots have developed.
- Sever the stem: Once roots have developed, carefully cut the stem below the rooting area.
- Pot the new plant: Plant the newly rooted stem in a pot with fresh potting mix.
Propagation by Seeds
While propagating star jasmine from seeds is possible, it is not the most common or recommended method. This is because star jasmine seeds have a low germination rate, and seedlings can take a long time to grow into mature plants.
However, if you’re interested in trying this method, here’s a step-by-step guide.
Collecting and Preparing Seeds, Step-by-Step Guide to Successful Star Jasmine Propagation!
The seeds of star jasmine are small, black, and oval-shaped. They are found within the fruit of the plant, which is a small, round, and fleshy berry that turns black when ripe. To collect seeds, wait until the berries are fully ripe and then gently squeeze them to extract the seeds.
While star jasmine is known for its captivating fragrance and delicate blooms, propagating it can be a rewarding experience for any gardener. As the season transitions from summer to fall, consider adding this fragrant climber to your garden. You might find inspiration in the seasonal activities at Harvest Moon Farm: A Fall Tradition Worth Starting! , a farm that celebrates the beauty of autumn.
With the right techniques and a little patience, your star jasmine propagation will flourish, adding a touch of charm to your garden for years to come.
Rinse the seeds in water to remove any pulp, and then allow them to air dry completely.
Sowing Seeds
Once the seeds are dry, you can sow them in a seed tray or directly into the ground.
Sowing Seeds in a Seed Tray
- Fill a seed tray with a seed-starting mix and lightly moisten it.
- Scatter the seeds evenly over the surface of the mix and cover them with a thin layer of soil.
- Water the seeds gently, and then place the tray in a warm, sunny location.
- Keep the soil moist, but not soggy.
- Germination can take several weeks, and sometimes even months.
Sowing Seeds Directly into the Ground
- Choose a sunny location in your garden with well-drained soil.
- Prepare the soil by loosening it and removing any weeds.
- Scatter the seeds evenly over the prepared soil and cover them with a thin layer of soil.
- Water the seeds gently, and then keep the soil moist until germination occurs.
Troubleshooting and Tips
While star jasmine is relatively easy to propagate, there are a few common problems that can occur. This section provides troubleshooting tips and advice on preventing diseases and pests, and caring for newly propagated star jasmine plants to ensure their healthy growth.
Common Problems and Solutions
Star jasmine propagation can encounter some challenges, and recognizing them early can improve your success rate.
- Cuttings not rooting:This can happen if the cuttings are too old, too dry, or not taken from healthy stems. Use fresh, young cuttings with at least two nodes and ensure they are kept moist during the rooting process.
- Cuttings rotting:Overwatering or poor drainage can lead to root rot. Use well-draining potting mix and avoid overwatering. Ensure the soil is slightly moist, but not soggy.
- Cuttings drying out:Insufficient humidity can hinder root development. Maintain high humidity around the cuttings, especially during the initial stages of rooting. You can achieve this by using a humidity dome or misting the cuttings regularly.
- Cuttings developing diseases:Fungal diseases can affect cuttings, especially in humid environments. Use sterilized tools and potting mix to minimize the risk of fungal infections. You can also treat the cuttings with a fungicide if necessary.
Preventing Diseases and Pests
Star jasmine plants are generally resistant to diseases and pests, but taking preventative measures can protect your cuttings.
- Inspect cuttings for pests:Before propagating, check the cuttings for signs of pests like aphids, mealybugs, or spider mites. If you find any, treat them before proceeding with propagation.
- Use sterilized tools:Always use sterilized tools to avoid introducing bacteria or fungal spores to the cuttings. You can sterilize tools by wiping them with rubbing alcohol or by immersing them in a bleach solution.
- Avoid overwatering:Overwatering can lead to root rot, making the cuttings more susceptible to diseases. Ensure the potting mix is well-draining and allow the soil to dry slightly between waterings.
- Provide good air circulation:Good air circulation helps prevent fungal diseases. Avoid overcrowding the cuttings and ensure they are placed in a well-ventilated area.
Caring for Newly Propagated Star Jasmine Plants
Once your star jasmine cuttings have rooted, it is important to provide them with the right care to ensure their healthy growth.
- Repotting:Once the roots have developed, repot the cuttings into slightly larger pots. Choose a well-draining potting mix that is rich in organic matter.
- Watering:Water the newly potted plants regularly, but avoid overwatering. Allow the soil to dry slightly between waterings.
- Fertilizing:Fertilize the plants with a balanced liquid fertilizer once a month during the growing season.
- Sunlight:Provide the plants with bright, indirect sunlight. Avoid exposing them to direct sunlight, which can scorch the leaves.
- Pruning:Pinch back the tips of the stems to encourage bushier growth.
Illustrative Examples
Visual aids can greatly enhance understanding, especially when dealing with practical processes like propagation. This section provides illustrative examples of each star jasmine propagation method, highlighting the key steps involved.
Visual Representations of Propagation Methods
The following table offers visual representations of each propagation method, accompanied by brief descriptions of the key steps involved:
Propagation Method |
Image Description |
Steps |
|---|---|---|
Cuttings |
A close-up image of a star jasmine cutting with several nodes, taken from the tip of a healthy branch. The cutting is placed in a pot filled with a moist potting mix, with the lower nodes buried in the soil. |
1. Cut a 4-6 inch stem from a healthy branch.
|
Layering |
An image of a star jasmine branch with a portion of the stem buried in the soil. The stem is bent over and pinned to the ground, with a portion of the stem exposed above the soil. Roots are visible emerging from the buried portion of the stem. |
1. Select a flexible branch and bend it to the ground.
|
Seeds |
A close-up image of star jasmine seeds, showing their small size and dark brown color. The seeds are sown in a seed tray filled with a seed-starting mix, with a thin layer of soil covering the seeds. |
1. Collect mature star jasmine seeds from ripe fruit pods.
|
A Successful Propagation Experience
“I was eager to expand my star jasmine collection and decided to try propagation. I chose the cutting method and followed the steps carefully. I used a sharp knife to make a clean cut on a healthy stem, removed the leaves from the lower portion, and dipped the cut end in rooting hormone. I planted the cutting in a pot filled with a well-draining potting mix and kept the soil consistently moist. After a few weeks, I started to see new growth emerging from the nodes. I was thrilled! The cutting rooted successfully, and I now have a new star jasmine plant that will soon be blooming.”
Final Thoughts
With a little patience and care, propagating star jasmine can be a rewarding experience. Whether you choose to grow it from cuttings, layers, or seeds, the journey will culminate in a beautiful and fragrant plant that will bring joy to your garden for years to come.
Remember, success lies in understanding the plant’s needs and following the right steps. This guide provides the tools and knowledge you need to embark on your own star jasmine propagation journey.
Questions and Answers
What is the best time of year to propagate star jasmine?
The best time to propagate star jasmine is during the spring or summer when the plant is actively growing.
How long does it take for star jasmine cuttings to root?
Star jasmine cuttings typically take 4-6 weeks to root, but this can vary depending on the method and conditions.
Can I propagate star jasmine from seed?
While possible, propagating star jasmine from seed is less common as it can be more challenging and time-consuming than other methods.
